
Joey Bada$$ Promotional Website

Jo-Vaughn Virginie Scott, known by his stage name Joey Badass (stylized as Joey Bada$$), is an American rapper, singer, songwriter, record producer, and actor.

I first stumbled upon Joey, not from his music. Honestly, I don't even listen to his music. But what I want to share today is an impressive website of his. I found him on awwwards.com, and I immediately was fascinated by his website's look.

This website tells you who Joey is as a person and as a rapper. From his early life to his present life, his career and who he is as a person. The website design is really cool, and the aesthetic is very excellent as well.

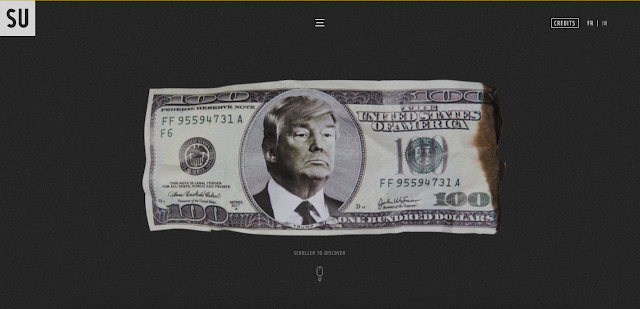
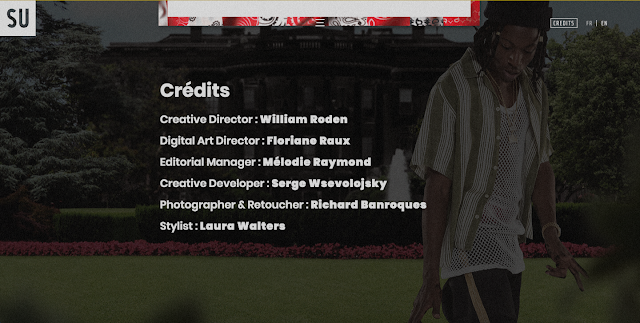
As users, we're asked to just scroll through the whole website and read his back story. Here are some pictures of the website. To enjoy the site yourself, click here.


Comments

Popular posts from this blog

TouchDesigner Experiment: Inserting OSC data with OSCIn

From one of my last experiment , I tried to change the data input. Instead of using audio, I replaced it with OSC data from my Muse headset. To connect your OSC device to TouchDesigner, make sure that the IP address and port number is the same so the data transfer can be accurate. In this case, I use a third-party app called Mind Monitor (available on iOS devices) to connect my Muse headset to the TouchDesigner software. Below are screenshots and videos from my experiment. You can see that the brainwave data is already recorded in real-time in the software. Then I used the alpha, beta, and theta brainwave to change the movement of the visuals (the chosen brainwave data I used are just placeholders for now to see the movement). Then the data is connected with 'noise', which is like the fluid/abstract visuals you see on the background. I also set the colors to be moving/changing over time.

TouchDesigner Experiment: Audio Reactive Particle Cloud

My second experiment with TouchDesigner is creating this audio-reactive particle visual by following Bileam Tschepe 's tutorial on Youtube. Again, I just followed his tutorial step by step. This tutorial is a little different because it uses both audio and visuals. The visual follows the music in real-time. Other than audio, we are also introduced with the element 'Math' to add the channels of the audio together. This is the end product. Music is FriendsV2 by Muskatt.

Arduino Experiments (pt. 1)

Earlier this week, I bought my first Arduino Kit . Since this is week 6 of term, our lecturer has asked us to display an experiment by week 7. It could be any type of experiment, and it doesn't even have to be related to our project. The reason why I picked to try on Arduino is that I think it's the closest medium I'll be using for my actual work. But I was kind of worried about this, mainly it is because I've never used or tried it before. I've only heard about it but never actually played around with it. So this is the kit I bought. It costs SGD 70 at one of the shops in Sim Lim Tower. It contains a lot of items to try out experiments. It also includes several tutorial cards that can be successfully running with the items provided in the kit. For more detailed tutorials and the codes of each project, we are asked to go to their website and search for the complete step by step tutorials. Thus far, I have tried several projects, and for ...