
IRIE: Experimental Interactive Short Movie


IRIE is the final project of an interactive experimental short movie created by two of my friends and myself for our Design Studio 2 subject. The word 'Irie' comes from a Jamaican English slang, usually to express a general term of approval (nice, good, or pleasing). Although the plot of the movie is not as nice, good, or pleasing, we chose the word nevertheless because we want to emphasize on the expression and feelings to whoever is watching. Black Mirror: Bandersnatch profoundly inspires IRIE, and it also inspired by Love, Death + Robots: The Witness art style.

Here is a clip of how IRIE looks like.

brainstorming for the plot

first try on creating the neck slash


Since IRIE is a looping/endless movie, we couldn't really put in credits at the end of the video. So we decided to put our names on objects that can be seen throughout the beginning of the movie.

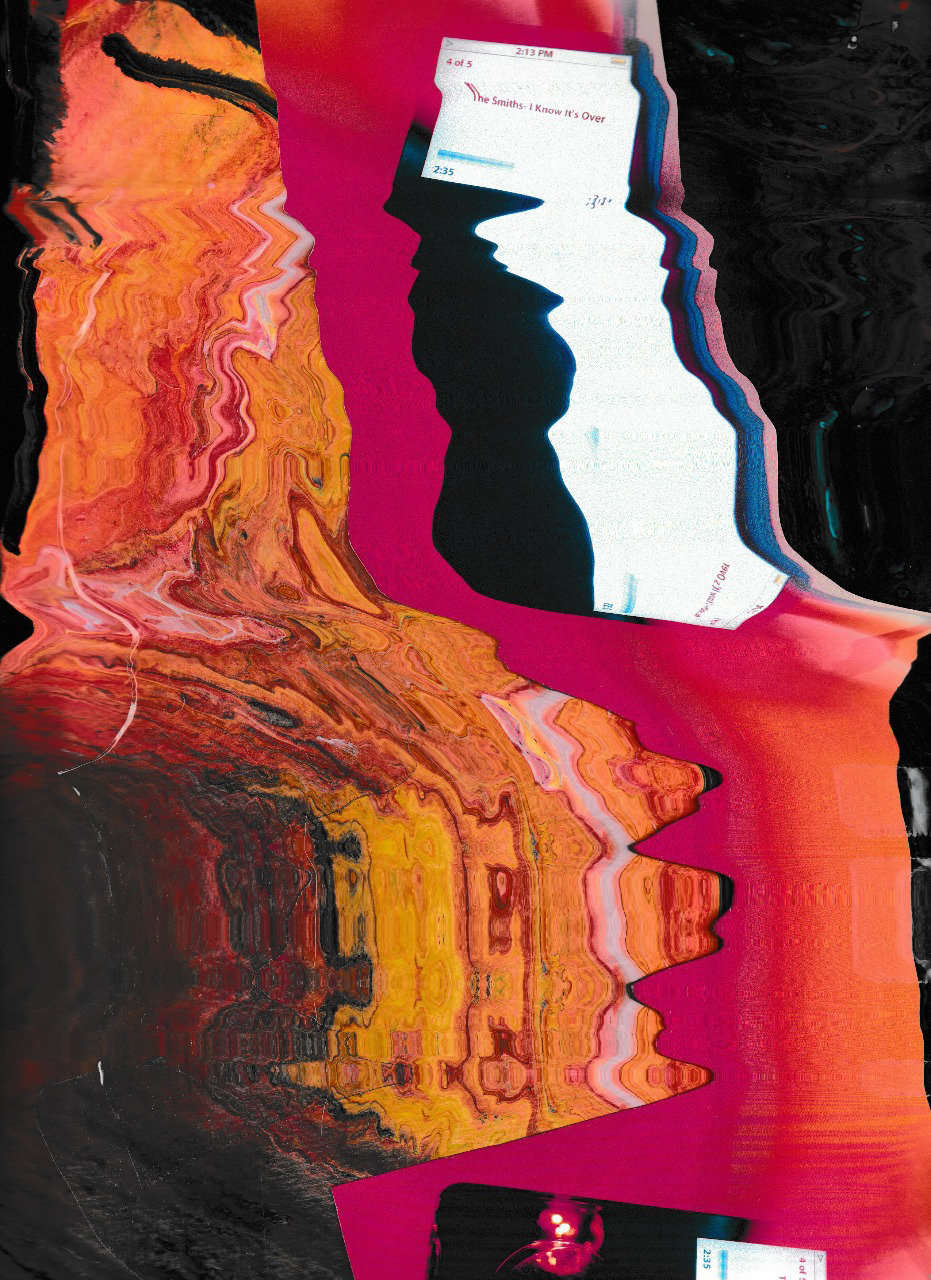
The artwork's background was created manually by utilizing a printed photo of an iPod, overlaid with drop acrylic paintings, and swirled around during the scanning process to create an abstract and glitch effect (inspired by @revolvingstyle).


As for the design aspect, we utilized these color palette and typeface to match the look and feel of the whole project. Other than that you can also listen to the curated songs we hand-picked for the movie on Spotify.

For a cleaner and more detailed look on this project, check our Behance.


Comments

Popular posts from this blog

TouchDesigner Experiment: Inserting OSC data with OSCIn

From one of my last experiment , I tried to change the data input. Instead of using audio, I replaced it with OSC data from my Muse headset. To connect your OSC device to TouchDesigner, make sure that the IP address and port number is the same so the data transfer can be accurate. In this case, I use a third-party app called Mind Monitor (available on iOS devices) to connect my Muse headset to the TouchDesigner software. Below are screenshots and videos from my experiment. You can see that the brainwave data is already recorded in real-time in the software. Then I used the alpha, beta, and theta brainwave to change the movement of the visuals (the chosen brainwave data I used are just placeholders for now to see the movement). Then the data is connected with 'noise', which is like the fluid/abstract visuals you see on the background. I also set the colors to be moving/changing over time.

TouchDesigner Experiment: Audio Reactive Particle Cloud

My second experiment with TouchDesigner is creating this audio-reactive particle visual by following Bileam Tschepe 's tutorial on Youtube. Again, I just followed his tutorial step by step. This tutorial is a little different because it uses both audio and visuals. The visual follows the music in real-time. Other than audio, we are also introduced with the element 'Math' to add the channels of the audio together. This is the end product. Music is FriendsV2 by Muskatt.

Arduino Experiments (pt. 1)

Earlier this week, I bought my first Arduino Kit . Since this is week 6 of term, our lecturer has asked us to display an experiment by week 7. It could be any type of experiment, and it doesn't even have to be related to our project. The reason why I picked to try on Arduino is that I think it's the closest medium I'll be using for my actual work. But I was kind of worried about this, mainly it is because I've never used or tried it before. I've only heard about it but never actually played around with it. So this is the kit I bought. It costs SGD 70 at one of the shops in Sim Lim Tower. It contains a lot of items to try out experiments. It also includes several tutorial cards that can be successfully running with the items provided in the kit. For more detailed tutorials and the codes of each project, we are asked to go to their website and search for the complete step by step tutorials. Thus far, I have tried several projects, and for ...