On the 6th of February, our class went on a field trip to check out a multimedia exhibition held at the Singapore National Gallery. The exhibition is called City Hall: If Walls Could Talk.
The exhibition tells the audience about the lesser-known stories of crucial moments that occurred within the walls of this majestic dame across its history. The display itself is held in the heart of the building at City Hall Chamber, where visitors can witness the defining events, which come alive through the innovative of augmented interactive content paired with rich storytelling.


The exhibition tells the audience about the lesser-known stories of crucial moments that occurred within the walls of this majestic dame across its history. The display itself is held in the heart of the building at City Hall Chamber, where visitors can witness the defining events, which come alive through the innovative of augmented interactive content paired with rich storytelling.

Before we enter the chamber where they actually display the exhibition, there are several cameras in front of green screens where people can take pictures and participate in supporting the exhibition (The photo then can be downloaded for personal use, and it will be displayed at the end of the exhibition along with other people who took pictures there as well).

Inside the chamber, there is a huge table in the middle, along with several huge screens on the sides of the room and one huge screen right across the entry door. On the table, there is a small standing glass/screen that displays a narrator that tells the story of what happens in the walls of the city hall. The table is also projected with displays from a projector that is directly above it, and it is interactive, which allows people to touch the table and press on buttons when is told to do so.


After the story ends, we were ushered out and there's a big touch-screen where we can read more fun facts about the city hall.


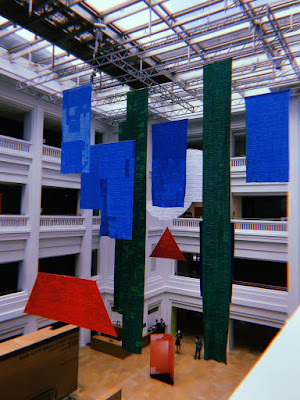
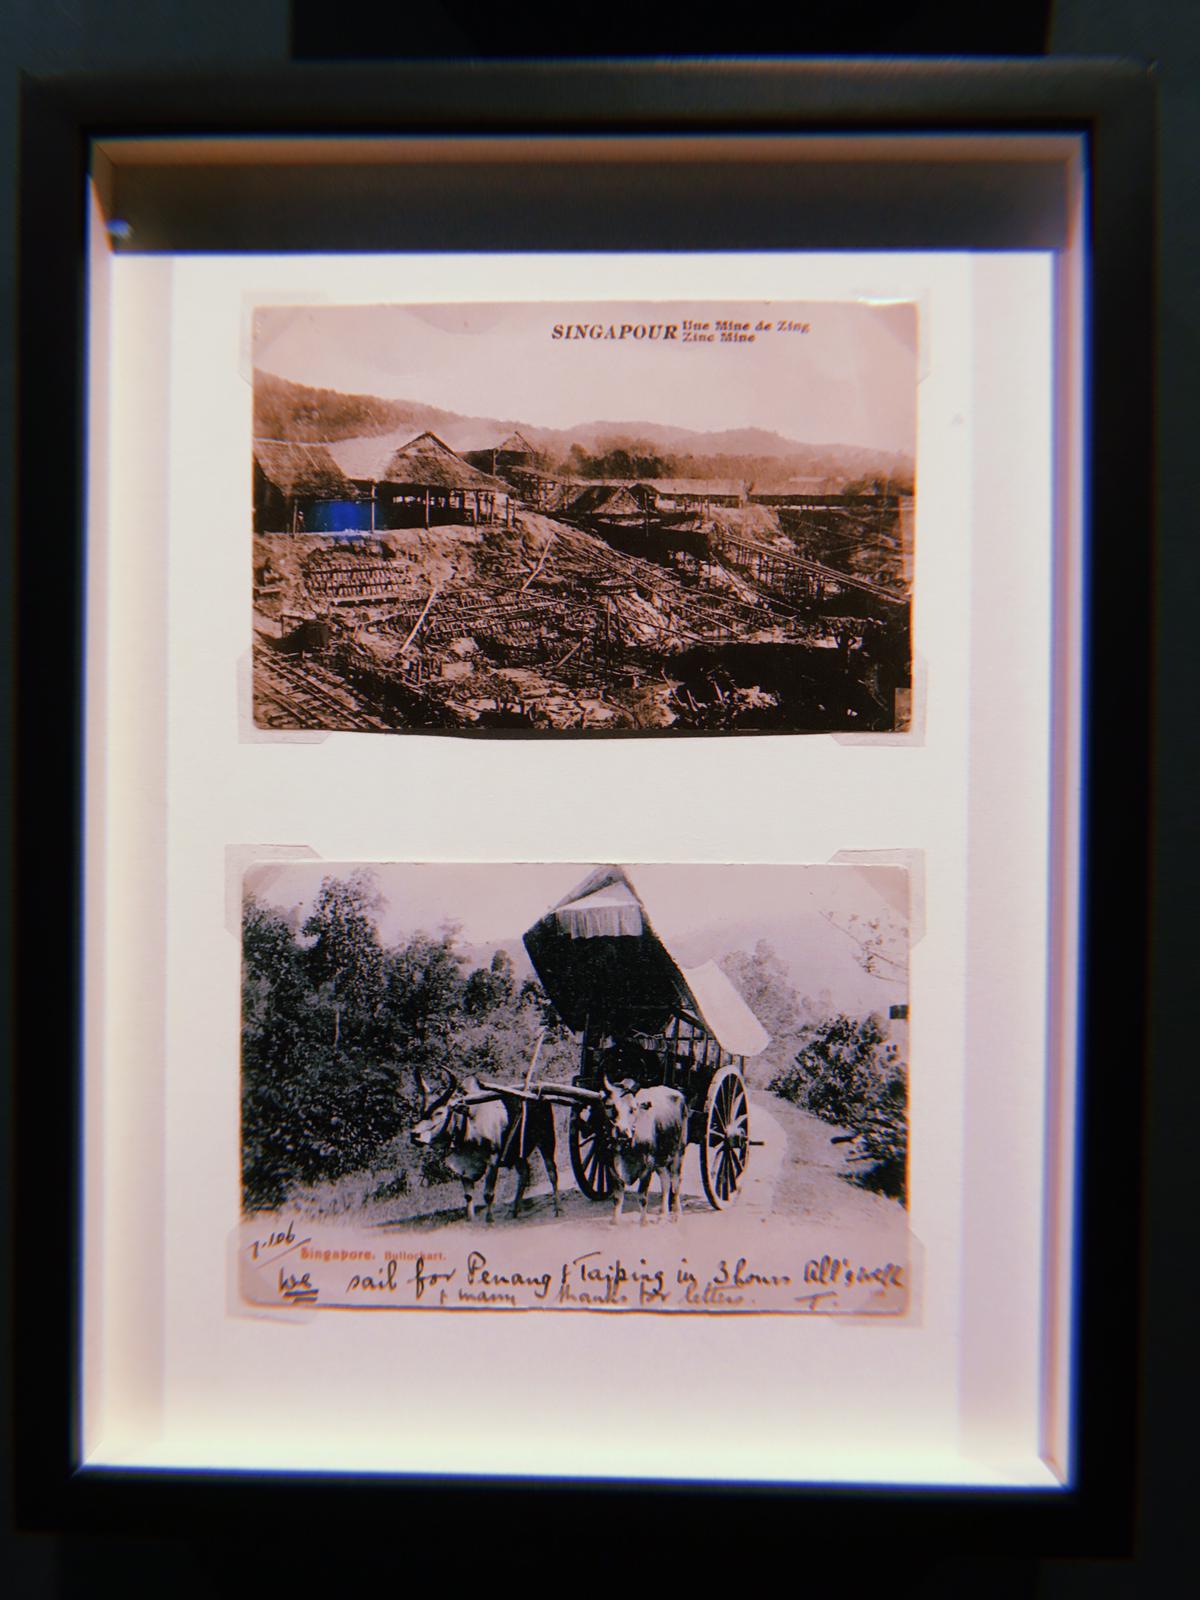
Other than that, there are other exhibitions available to be checked out in the gallery such as Chua Soo Bin: Truths & Legends, Listening to Architecture: The Gallery's Histories and Transformations, Siapa Nama Kamu? Art in Singapore Since The 19th Century, and many more.
Here is a collection of pictures taken during the trip that is unrelated to the City Hall: If Walls Could TalkCity Hall: If Walls Could Talk exhibition.


At the end of the trip, we took a picture together!


Comments
Post a Comment